Ever wonder how photographers create dreamy, cinematic light effects that make images pop? Photeeq lens flare transforms ordinary photos into extraordinary works of art. This powerful tool lets you harness light creatively, adding depth, emotion, and a professional touch to your photography. Whether a beginner or a seasoned pro, this guide explores everything you need about Photeeq lens flare. Get ready to dive into a world of vibrant visuals and unlock your creative potential!
What Is Photeeq Lens Flare?
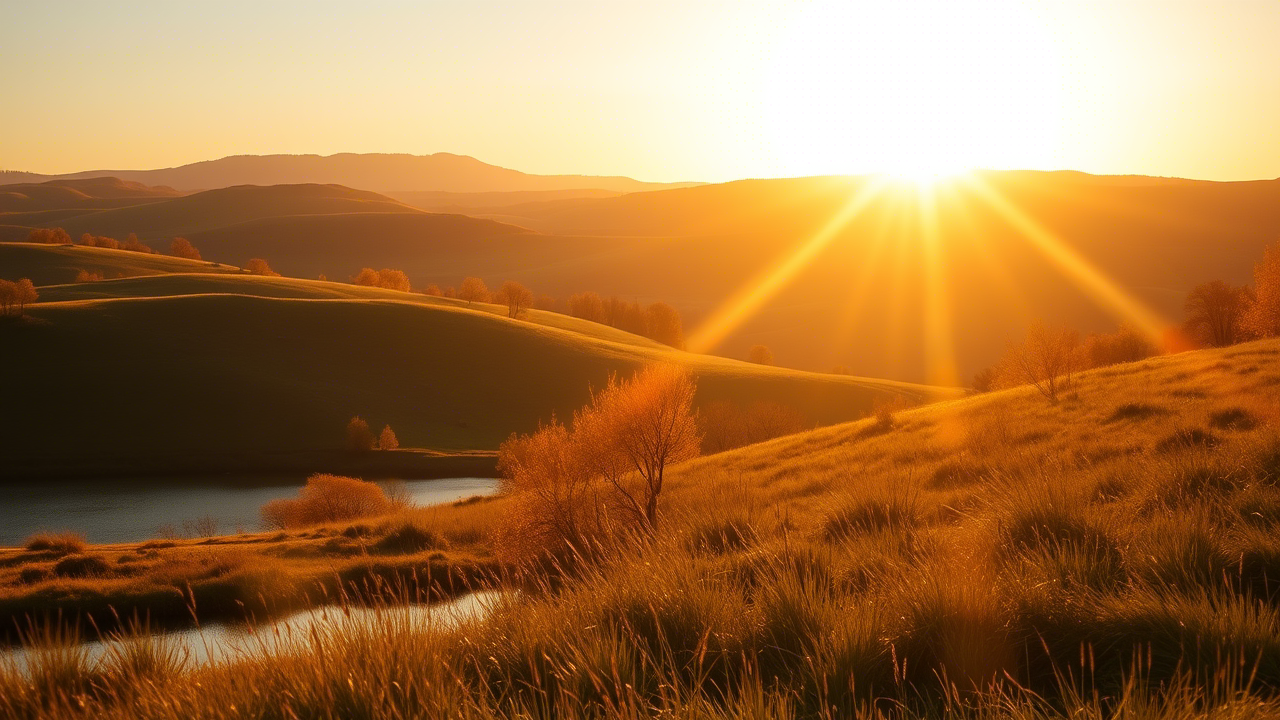
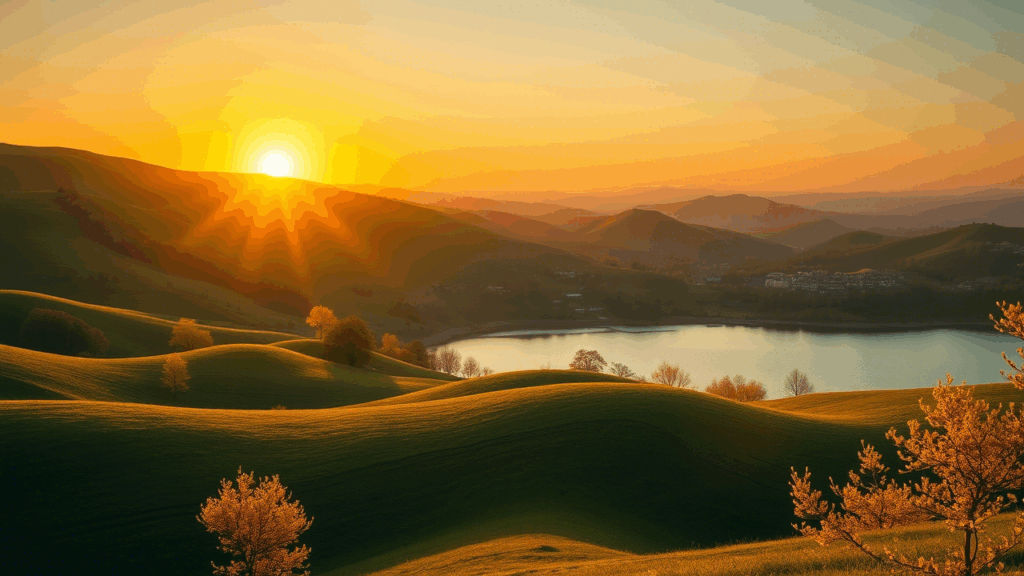
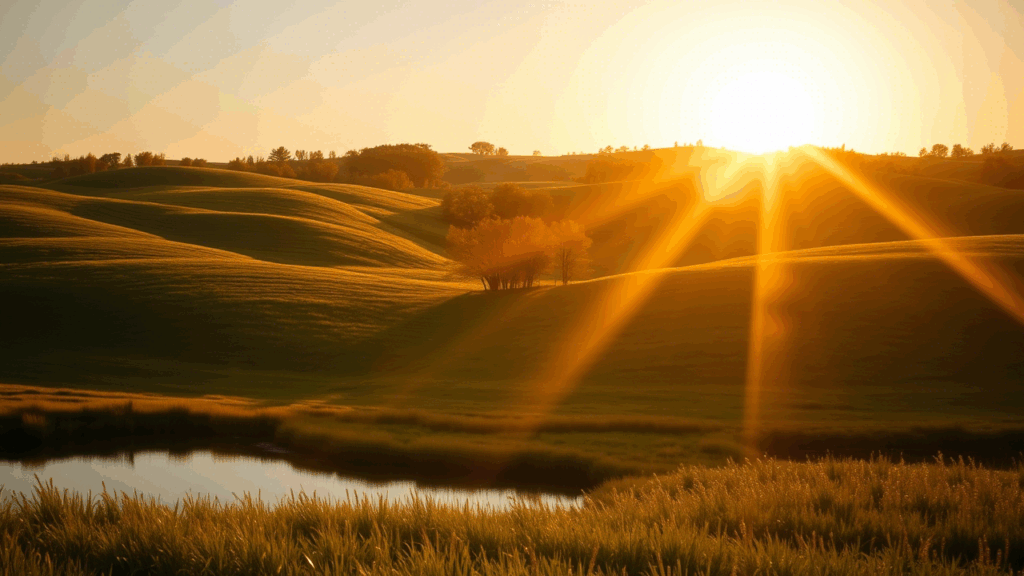
Lens flare happens when bright light scatters inside a camera lens, creating streaks, halos, or glowing spots. Think of sunlight streaming through trees or a streetlamp casting a soft glow in a night shot. Photeeq lens flare takes this natural phenomenon and gives you control over it in post-production. This digital tool mimics real-world light effects, letting you add or enhance flares without relying on perfect shooting conditions. You choose the intensity, color, and placement to match your vision. Why settle for chance when Photeeq lens flare empowers you to craft the perfect shot?
Why Use Photeeq Lens Flare?
You might ask, “Why bother with Photeeq lens flare when natural flares happen anyway?” The answer lies in control and creativity. Natural flares depend on lighting, lens quality, and angles, which aren’t always ideal. Photeeq lens flare lets you add professional-grade effects to any image, even if the original lacks flair. You got it. Need an incredible blue streak for a moody cityscape? No problem. This tool saves time, enhances storytelling, and elevates your work with a cinematic edge. Plus, it’s beginner-friendly so that anyone can create stunning visuals.
Key Features of Photeeq Lens Flare
What makes Photeeq lens flare stand out? Its features blend ease with sophistication. You get a library of preset flare styles, from subtle glows to dramatic starbursts. Customization options let you tweak brightness, hue, and size for a natural look. The tool integrates seamlessly with software like Photoshop and Lightroom, fitting right into your workflow. Real-time previews mean you see changes instantly, so experimentation feels effortless. Best of all, Photeeq lens flare uses non-destructive editing, keeping your original image safe while you play with effects.
How to Use Photeeq Lens Flare
Ready to try Photeeq lens flare? Start by picking a photo with a light source, like the sun or a lamp, to make the effect look authentic. Open your editing software and load the Photeeq lens flare plugin. Browse the presets and select one that fits your mood—maybe a soft halo for a portrait or a bold streak for a landscape. Fine-tune the intensity and color to blend it seamlessly. Preview the result, tweak as needed, and save your masterpiece. It’s that simple!
Tips for Stunning Photeeq Lens Flare Effects
Want to make your Photeeq lens flare effects shine? Keep it subtle—overdoing it can overwhelm your subject. Match the flare’s angle to the light source for realism. Use warm tones for cozy, nostalgic vibes or cool tones for a mysterious feel. Experiment with layering multiple flares for depth, but adjust opacity to avoid clutter. Check your composition; place flares along leading lines or near focal points to guide the viewer’s eye. With Photeeq lens flare, minor tweaks significantly impact, so play around and find what works.
Is Photeeq Lens Flare Eco-Friendly?
You might not think photo editing as eco-friendly, but Photeeq lens flare surprises here. The software optimizes for low energy consumption, reducing your digital footprint. No need for extra hardware or energy-hungry equipment—just your computer and creativity. By cutting down on physical shoots to chase perfect lighting, you save resources, too. Photeeq lens flare proves you can create breathtaking visuals while being kind to the planet. Who knew artistry and sustainability could go hand in hand?
When to Use Photeeq Lens Flare
Not every photo needs Photeeq lens flare, so when should you use it? It’s perfect for outdoor shots, especially during golden hour, to amplify sunlight’s magic. Portraits glow dreamily, while landscapes get a vibrant, immersive feel. Urban scenes with streetlights or reflections come alive with a gritty, cinematic edge. Even product photography benefits, highlighting items with a professional sheen. Avoid using Photeeq lens flare in minimalist or high-contrast shots where it might distract. Choose wisely, and your images will captivate.
Common Mistakes to Avoid
Excited about Photeeq lens flare? Don’t rush in unthinkingly. A big mistake is overusing flares, making your photo look artificial. Misplacing the flare—say, far from the light source—breaks realism. Ignoring the image’s mood can clash; a bright flare in a somber shot feels off. Skipping previews risks missing flaws until it’s too late. Take time, align the flare with your vision, and balance the effect. Photeeq lens flare rewards patience with polished results.
Why Photeeq Lens Flare Feels Human-Made
Ever used a tool that feels like it gets you? Photeeq lens flare nails that vibe. Its intuitive design mimics how you’d naturally tweak light, with sliders and previews that feel like an extension of your creativity. The effects look organic, not like a machine slapped them on. You control every detail, from subtle glows to bold bursts, making each edit uniquely yours. Photeeq lens flare blends tech with artistry, so your photos tell stories that resonate with viewers.
Take Your Photography to New Heights
Photeeq lens flare isn’t just a tool—it’s a gateway to limitless creativity. You can transform flat images into dynamic, emotional masterpieces with a few clicks. Whether you’re crafting a romantic portrait, a sweeping landscape, or a sleek ad, this tool delivers. Its ease, versatility, and eco-friendly design make it a must-have for photographers who want to stand out. So, what are you waiting for? Grab Photeeq lens flare, experiment with light, and watch your photography soar. Your next viral shot is just a flare away!